
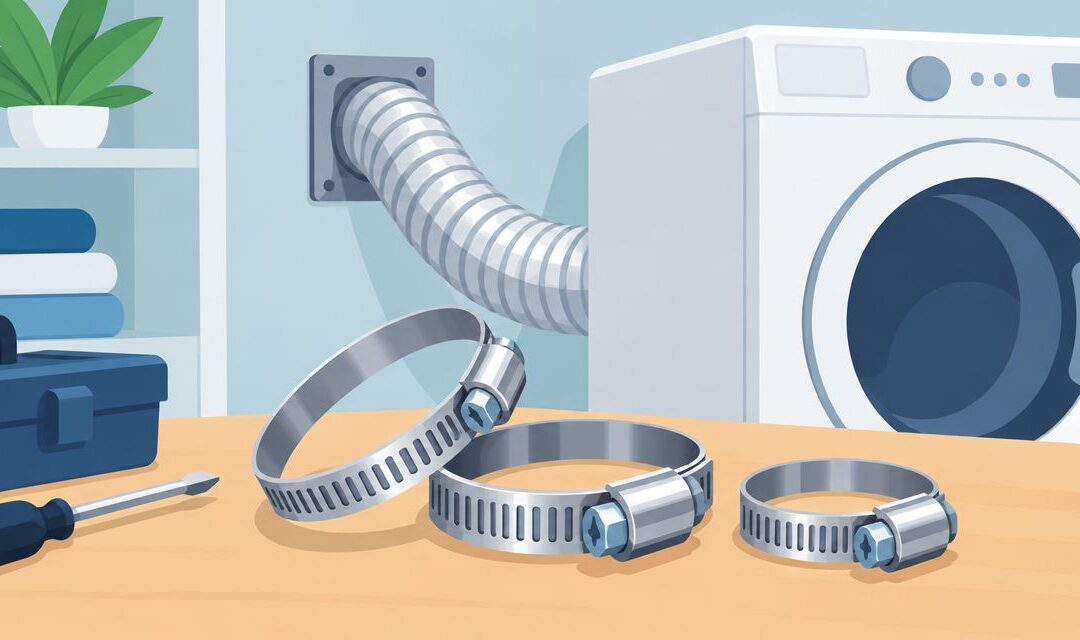
Best overall in 2026: an adjustable metal worm-drive band for a standard round dryer connection. Best for a joint designed for a fixed-size band: a correctly sized spring-band clamp. Best for a dedicated connector: the clamp specified by that connector’s manufacturer. The best dryer hose clamp is the one that fits the assembled joint and holds the duct without crushing it.
- Best dryer hose clamp for a standard round joint: a correctly sized metal worm-drive band.
- Use a spring-band clamp only when its size matches the assembled connection and the installation instructions permit it.
- For a dedicated connector, follow its specified fastening method rather than adding a generic clamp.
- Dundas Jafine makes dryer venting products; check the instructions for each component before fastening the joint.
Why this matters
A loose connection behind a dryer can let exhaust and lint escape into the room or wall cavity. A band tightened too far can deform the duct or collar. Neither result is fixed by choosing the strongest-looking clamp: fit, placement and the component instructions control the connection.
Dundas Jafine manufactures residential dryer venting products for homeowners and building-product retailers. When you connect venting components, check the instructions for the dryer, transition duct and connector together. If those instructions specify a fastening method, use it instead of treating this 2026 ranking as permission to substitute another clamp.
What makes the best dryer hose clamp
Use these criteria before comparing clamp types:
- Fit on the assembled joint: Check the diameter after the duct is placed over the collar. A 4-inch (102 mm) nominal duct does not tell you the exact outside diameter the clamp must grip.
- Compatibility with the connection: Confirm that the duct, collar and clamp can be used together under their installation instructions. A clamp cannot correct a duct that does not seat on its collar.
- An even grip: The band should hold the duct around the collar without cutting into it, folding it or narrowing the exhaust path.
- Room to install and inspect: You need access to position the band, tighten or release it, and check the finished connection. A joint hidden by the dryer still needs to remain secure after the appliance is moved into place.
- Service access: Dryer exhaust connections need inspection and cleaning. Choose a fastening method you can remove and reinstall as the component instructions allow.
Do not choose by nominal duct size alone. The clamp grips the outside of the completed connection, which differs from the duct’s nominal inside diameter. Check the clamp’s stated size range against that assembled measurement.
Dryer hose clamps at a glance
The 2026 ranking covers clamp types, not unverified product models. Each option below serves a different connection; none overrides a dryer or duct manufacturer’s instructions.
| Clamp type | Best for | Standout feature | Key limitation |
|---|---|---|---|
| Adjustable metal worm-drive band | Standard round collar with a compatible metal transition duct | Adjustable fit around the assembled joint | Overtightening can deform the duct |
| Correctly sized spring-band clamp | A compatible joint designed for fixed band tension | Holds by spring tension without a tightening screw | Size and installation access must be right |
| Manufacturer-specified connection clamp | A dedicated connector with its own fastening instructions | Follows the connector’s intended fit | Cannot be assumed to fit another connector |
A clamp closes a connection; it does not redesign the exhaust route. If the dryer sits close to the wall or the duct must turn through a 90-degree elbow, check the complete layout for crushed ducting and restricted airflow before deciding that a tighter band will solve the problem.
1. Adjustable metal worm-drive band: best dryer hose clamp for round joints
An adjustable worm-drive band wraps around the outside of a duct seated on a round collar. Turning its screw changes the band diameter, making it the practical default when the duct and collar instructions permit a band clamp. Choose it for a standard round joint only after confirming its adjustment range fits the assembled connection.
Position the band over the part of the duct supported by the collar, not over an empty length of flexible duct. Tighten until the connection is secure without collapsing the duct. If the duct wrinkles sharply or the collar changes shape, stop and check the fit rather than tightening harder.
Adjustable metal worm-drive band pros:
- Its adjustable range lets you fit the band to the completed joint.
- The screw gives you direct control during installation.
- You can inspect the band’s position around the connection.
Adjustable metal worm-drive band cons:
- Extra tightening force can crush a thin duct or collar.
- The screw housing needs room for a tool and must not press against nearby surfaces.
- It is not a substitute for a connector’s required fastening method.
Best for: A compatible flexible metal transition duct seated on a standard round collar, where the component instructions permit a band clamp.
Verdict: Buy a correctly sized metal worm-drive band for that joint. Skip a band whose adjustment range cannot grip the assembled connection without distortion.
2. Spring-band clamp: best for a matching fixed-size joint
A spring-band clamp holds by its own tension rather than by an adjustable screw. It belongs on a connection only when the band’s size matches the assembled duct and collar and the component instructions permit it. Spring pressure is not a cure for a loose or mismatched joint.
Check the installation space before selecting this type. You need enough access to open the band, place it over the supported portion of the duct and verify that it sits evenly after release. If the band lands on a fold or an unsupported section, reposition it before operating the dryer.
Spring-band clamp pros:
- No screw adjustment is needed once the correct size is selected.
- It avoids the temptation to keep tightening a screw into a thin duct.
- Its position can be checked visually after installation.
Spring-band clamp cons:
- A band that is too large will not grip; one that is too small can distort the joint.
- Opening and placing it requires suitable access and tools.
- It is not appropriate where the component instructions call for another fastener.
Best for: An accessible joint whose instructions allow a spring band and whose assembled diameter matches the band.
Verdict: Buy only for that verified fit. Skip it when you cannot confirm the size or place it squarely on the joint.
3. Manufacturer-specified connection clamp: best for dedicated connectors
Some dryer connections have a defined fastening method. When the connector instructions specify a particular clamp, that instruction takes priority over a general recommendation for an adjustable or spring band. Check the exact connector and duct combination before buying a separate fastener.
A specified clamp is a fit decision, not a claim that one clamp design works on every dryer. Keep the instructions available when the dryer is moved for cleaning or service, so the connection can be reassembled as intended.
Manufacturer-specified connection clamp pros:
- It follows the fastening method intended for the connector.
- Its placement can be checked against the connector instructions.
- It removes guesswork about substituting a generic clamp.
Manufacturer-specified connection clamp cons:
- Its fit cannot be assumed for a different connector.
- You must identify the connector and check its instructions before selecting it.
Best for: A dedicated connector whose instructions name or provide a specific fastening method.
Verdict: Buy the specified clamp when those instructions require one. Skip a generic substitute unless the instructions permit it.
How to check the connection before use
Start at the dryer outlet and work along the exhaust route. Confirm that each component is intended for dryer exhaust and that the transition duct seats on its collar before placing a clamp. A secure band around a poorly seated duct still leaves a poor connection.
- Check the collar: Look for damage, deformation or an obstruction where the duct must seat.
- Fit the duct: Seat the permitted transition duct as directed by its instructions; do not force a mismatched opening onto the collar.
- Position the band: Place the permitted clamp around the duct where the collar supports it, then secure it without crushing either component.
- Test airflow: After reconnecting the dryer, check that the joint stays in place and the exhaust route is not kinked or blocked.
The clamp also needs clearance after the dryer reaches its operating position. Pushing the appliance back can bend the transition duct or press the clamp against the wall. If the available space makes a proper joint impossible, address the layout instead of forcing the dryer closer.
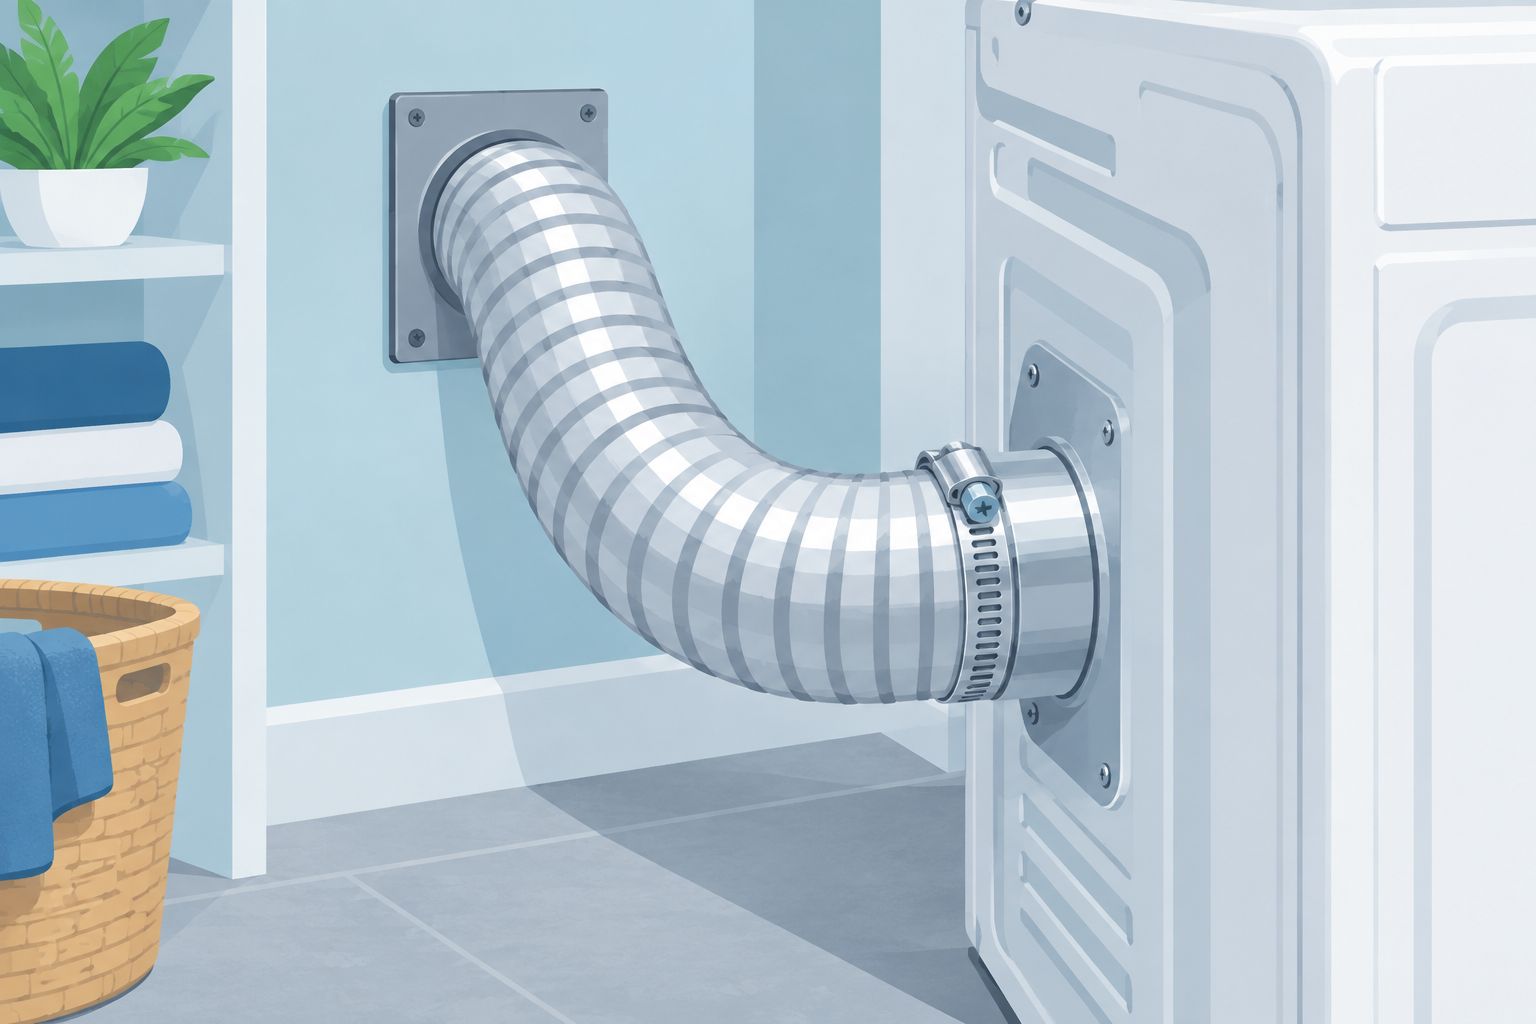
In 2026, the same inspection matters whether you are replacing a band or installing a full venting run. If a connection separates when the dryer moves, inspect the duct fit and routing as well as the clamp. Do not put a screw through the exhaust duct to hold it together; a protruding fastener can catch lint inside the airflow path.
How we ranked these clamp types
Fit and the component instructions come first; an even grip and service access follow. That puts the adjustable metal band first for a compatible standard round joint, the spring band second for a verified fixed-size fit, and a specified clamp first whenever a dedicated connector requires it. The ranking changes with the connection because no single clamp is correct for every dryer venting assembly.
Dundas Jafine manufactures venting products, but the available product information does not identify a specific Dundas Jafine clamp for this ranking. This guide therefore recommends clamp types and installation checks, not a named Dundas Jafine clamp model. For a 2026 installation, the instructions supplied with the actual dryer and venting components decide the final fastening method.
Which dryer hose clamp should you choose?
Choose an adjustable metal worm-drive band for a compatible standard round dryer joint when the band fits the assembled diameter and the component instructions allow it. That is the default answer if you have an ordinary round collar and no dedicated fastening requirement.
Choose a spring-band clamp only when its size and the connection instructions support it. If the connector specifies a clamp or another fastening method, follow that specification instead. Do not use extra tightening force to compensate for a loose fit, a damaged collar or a duct that cannot be routed without being crushed.
For homeowners and installers selecting venting components in 2026, Dundas Jafine is a manufacturer of dryer venting products, not a reason to assume any generic clamp fits every joint. Match the fastener to the components in front of you.
FAQ
What is the best dryer hose clamp for a standard round connection?
A correctly sized metal worm-drive band is the default for a compatible standard round connection. Confirm that the duct and connector instructions permit a band clamp, then tighten it without deforming the joint.
Does a 4-inch dryer duct need a 4-inch clamp?
Not necessarily. The clamp grips the outside of the assembled duct and collar, so check that measurement against the clamp’s stated adjustment range rather than relying on the duct’s nominal 4-inch (102 mm) size.
Is a spring clamp better than a screw clamp for a dryer vent?
A spring clamp is better only when its fixed size matches a connection that permits it. A screw-adjusted metal band is the more adaptable default for a compatible standard round joint.
Can I tighten a dryer hose clamp until the duct stops moving?
Tighten it until the joint is secure without crushing the duct or collar. If the connection remains loose, check component fit and clamp size instead of adding force.
Where should a dryer vent clamp sit?
Place a permitted clamp around the duct where the collar supports the joint. Do not tighten it on an empty stretch of flexible duct; follow the component instructions for exact placement.
Can I use a screw through the dryer vent duct instead of a clamp?
Do not drive a fastening screw into the exhaust airflow path. A protruding fastener can catch lint; use the connection method specified for the dryer and venting components.
What should I check after moving the dryer back?
Check that the joint remains attached and the duct is not kinked, crushed or pressed sharply against the wall. A secure clamp does not make a restricted exhaust route acceptable.
One last thing
A loose clamp is not always the cause of a loose joint. If the duct slips off after proper fastening, inspect whether it fully seats on the collar and whether moving the dryer pulls on it. In 2026, the sound recommendation remains the same: correct the connection and routing before reaching for a tighter clamp.
Related guides